How to Clean Your Laptop with Compressed Air Safely
Ever wondered why your laptop’s performance seems to lag despite your best efforts to keep it updated? The culprit could very well be the dust and debris accumulating inside your device. Laptops, with their intricate designs and compact structures, tend to trap these particles in various hard-to-reach places. One effective method for cleaning your laptop and restoring its functionality is using compressed air. Although this tool is simple and powerful, it requires careful use to avoid causing damage. This guide will walk you through the steps of cleaning your laptop with compressed air while ensuring safety and efficiency.
A clean laptop not only performs better but also enhances your overall experience as a user. With the right tools and techniques, removing dust from your laptop becomes an easy and rewarding process. Whether you’re a tech-savvy individual or a casual user, knowing how to use compressed air safely can prolong your device’s lifespan significantly. In the following sections, we will delve into preparation, step-by-step cleaning guides, and maintenance tips, equipping you with the knowledge to keep your laptop pristine.
Why You Should Clean Your Laptop
The importance of regularly cleaning your laptop cannot be overstated. Dust build-up can lead to overheating, reduced performance, and even hardware failures. Making cleaning part of your routine maintenance can mitigate these risks effectively. Here are some compelling reasons to keep your laptop clean:
- Prevent hardware failure: Dust can obstruct vents and fans, leading to overheating and potential damage.
- Improve system performance: A clean laptop allows for better airflow, enhancing overall performance.
- Extend lifespan: Regular maintenance minimizes wear and tear, helping your device last longer.
- Enhance your experience: A clean device allows for more efficient work and enjoyment.
Preparing to Clean Your Laptop
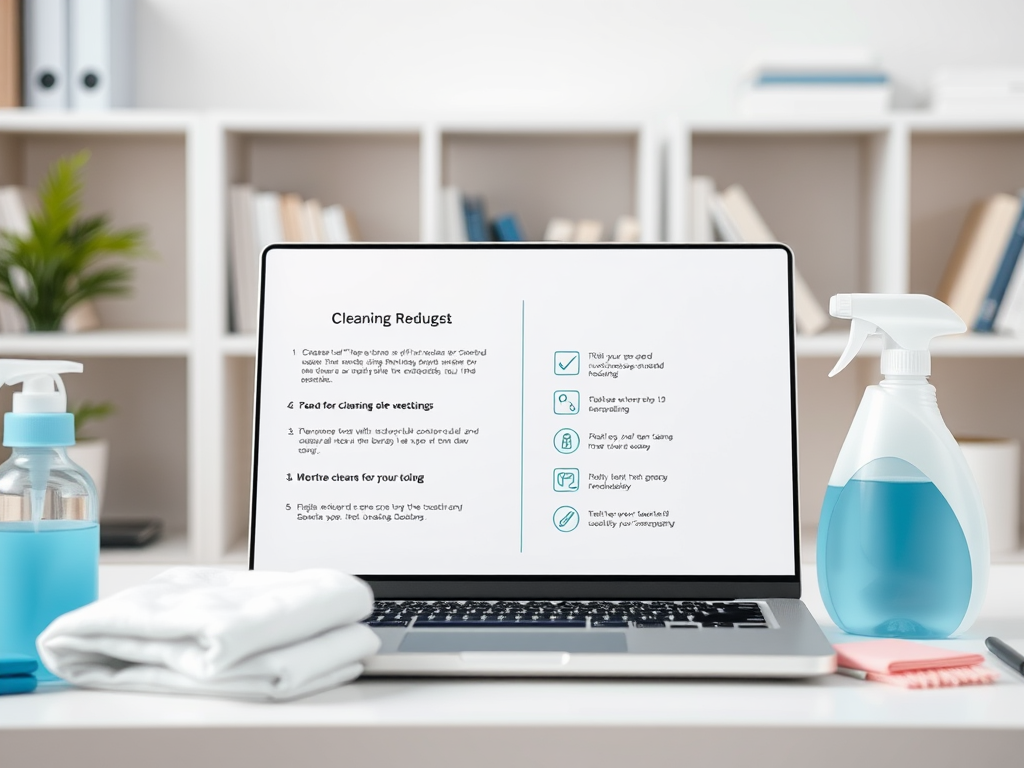
Before embarking on your cleaning journey, preparation is key. Having the right tools at your disposal makes the process smoother and safer. Start by gathering the necessary supplies. Below is a list of what you’ll need:
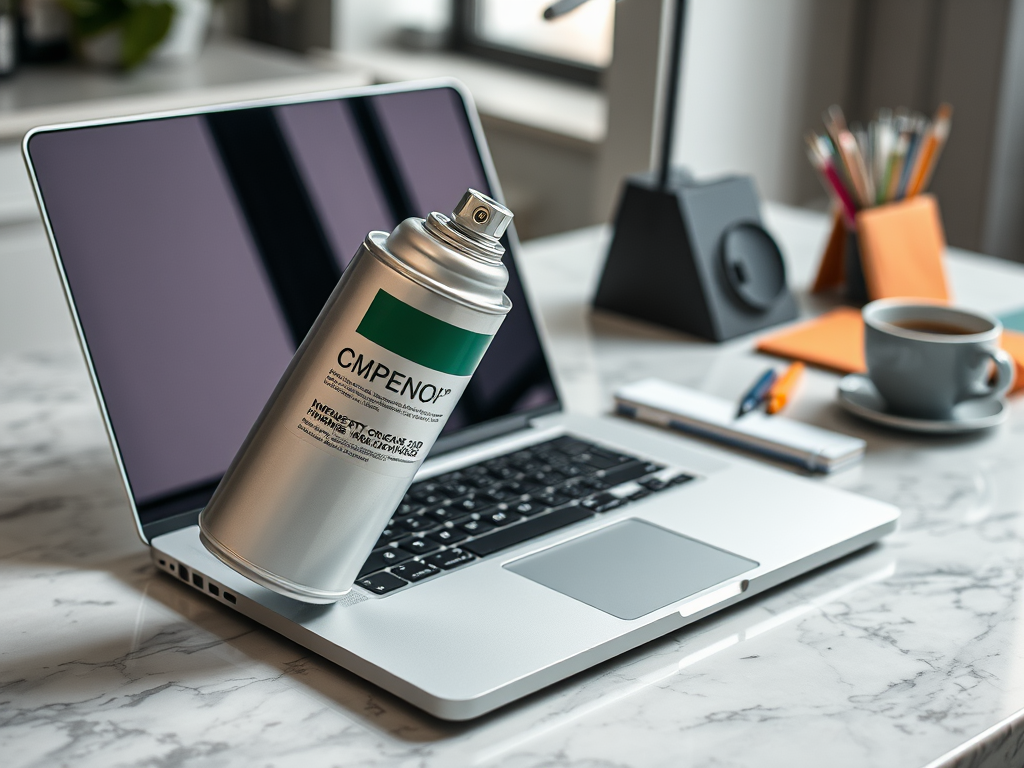
- A can of compressed air
- A microfiber cloth for wiping surfaces
- A soft brush for additional dust removal
- A static-free bag or container to hold small parts, if necessary
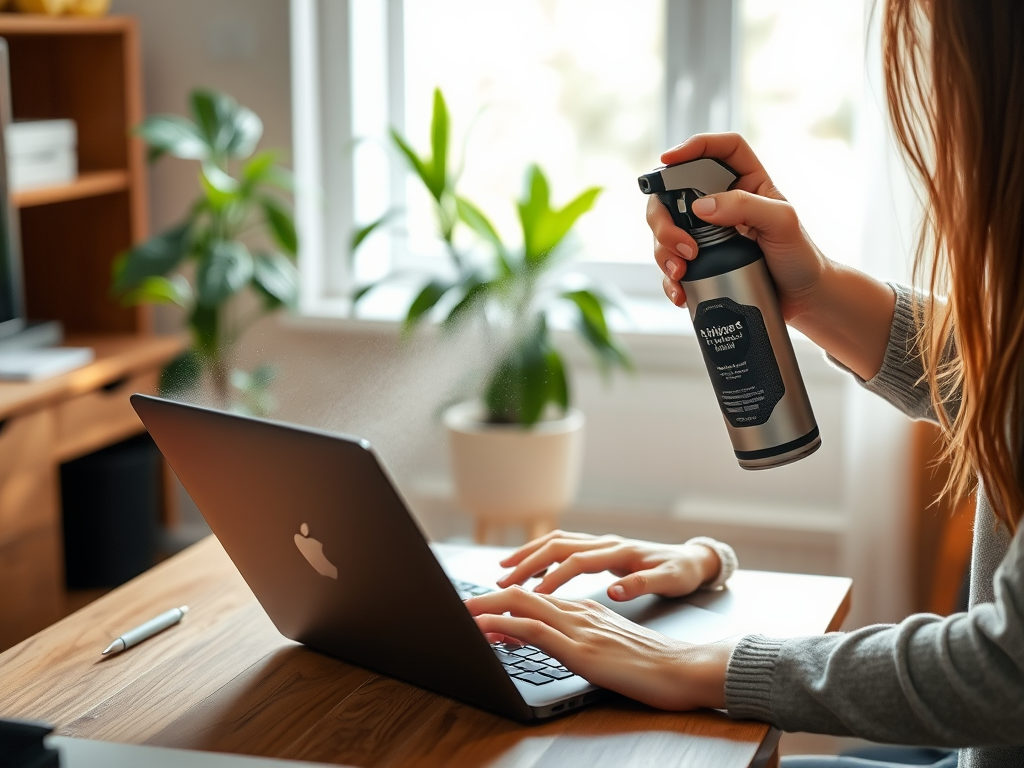
Next, set up your workspace to ensure safe and efficient cleaning. Opt for a well-ventilated area with a flat surface to prevent mishaps. It’s important to power down your laptop and unplug it before starting to avoid any electrical issues. Ensure that you have removed all external devices, like your mouse and keyboard, for a thorough cleaning. Additionally, keeping your laptop in an upright position will prevent any liquid propellant from leaking out of the compressed air canister.
Step-by-Step Guide to Using Compressed Air on Your Laptop
With everything in place, you are ready to clean your laptop effectively. Follow these steps to ensure a thorough job while prioritizing safety:
| Step | Action |
|---|---|
| 1 | Turn off and unplug your laptop |
| 2 | Hold the can of compressed air upright |
| 3 | Use short bursts of air for cleaning |
| 4 | Concentrate on key areas like the keyboard and vents |
Each step contributes to a clean and efficient laptop. First, ensure that your device is powered down and unplugged. This is a crucial step to avoid any accidents. Holding the can of compressed air upright prevents the liquid from escaping, which can damage sensitive components. When applying the air, use short bursts rather than a continuous stream. This method allows you to dislodge dust without blowing it further into the device.
As you clean, remember to pay special attention to these critical areas:
- Keyboard: Dust tends to accumulate beneath the keys, affecting responsiveness.
- Vents and Fans: Keeping these clean is vital for temperature regulation.
- Ports and Connections: Accumulated dust can obstruct connections, impacting performance.
Maintenance Tips for Future Cleaning
To maintain a clean laptop, consider implementing these practices regularly.
- Clean your laptop every three to six months, depending on your usage and environment.
- Wipe down surfaces with a microfiber cloth to prevent dust accumulation.
- Avoid eating or drinking near your laptop; this will help reduce crumbs and spills.
Conclusion
Cleaning your laptop with compressed air is an effective way to enhance its performance and increase its lifespan. By following this comprehensive guide, you can ensure a dust-free and efficient device. Just remember to prioritize safety while using compressed air, as improper use can lead to damage. With regular maintenance, you’ll enjoy an optimal user experience and keep your laptop functioning at its best!
Frequently Asked Questions
- What type of compressed air should I use? Use a can of compressed air specifically designed for electronics. Avoid using regular air compressors, as they may release moisture.
- Can I use compressed air on all laptop components? Yes, most components can be cleaned with compressed air, but avoid direct contact with sensitive areas like screens.
- How often should I clean my laptop with compressed air? A good rule of thumb is to clean your laptop every 3-6 months, depending on your environment and usage.
- Is it safe to clean my laptop with compressed air while it’s on? No, always ensure your laptop is powered off and unplugged before cleaning to avoid any electrical issues.
- Can I use a vacuum cleaner instead? Using a vacuum cleaner is not recommended, as it can create static electricity that may damage your laptop’s components. Stick to compressed air for safer cleaning.